
 Pi-Hole is an awesome software tool that you can use to block all unwanted ads, trackers and other annoying content from your devices. There are multiple ways of installing Pi-Hole and we are going to install Pi-Hole using Docker on a Synology NAS.
More info about Pi-Hole on the official website

Step 1 – Preparing your Synology NAS
To install Pi-Hole on your Synology NAS, you need a system that can run Docker.
Check on the Synology website if your NAS can run Docker
Open Synology Package Center and search for Docker:
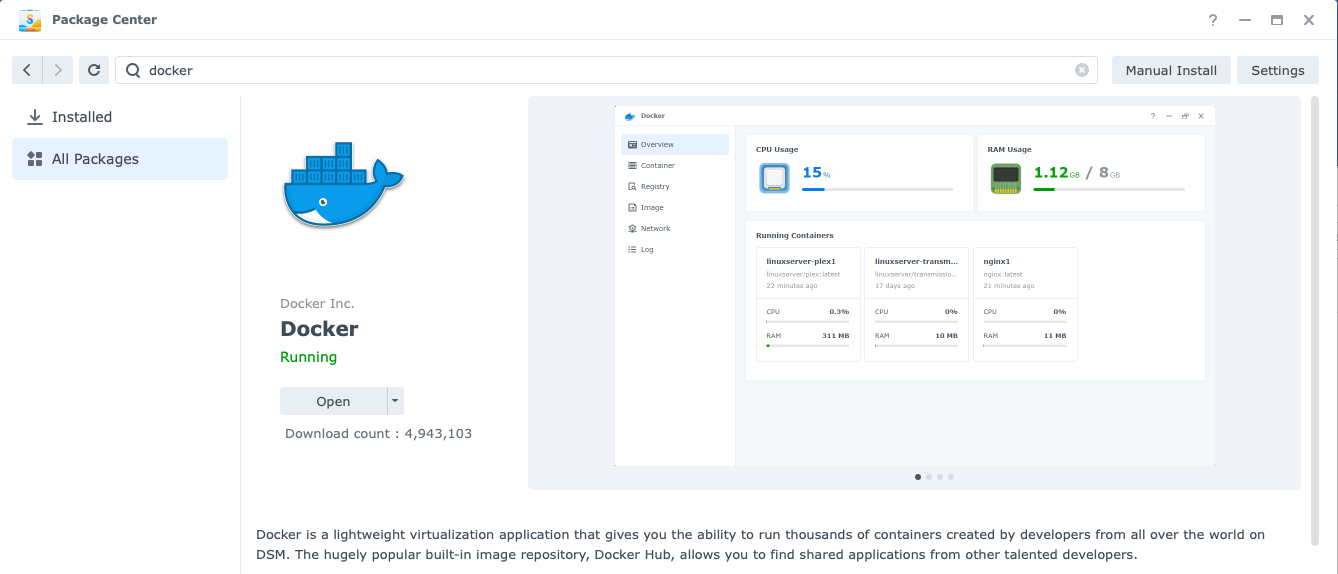
Click Install to download and install Docker on your Synology NAS. With Docker installed on your Synology NAS, you can install Pi-Hole in the next step.
Step 2 – Download Pi-Hole with Docker
Open Docker and browse in the left menu to the Registry tab. Search for pihole:
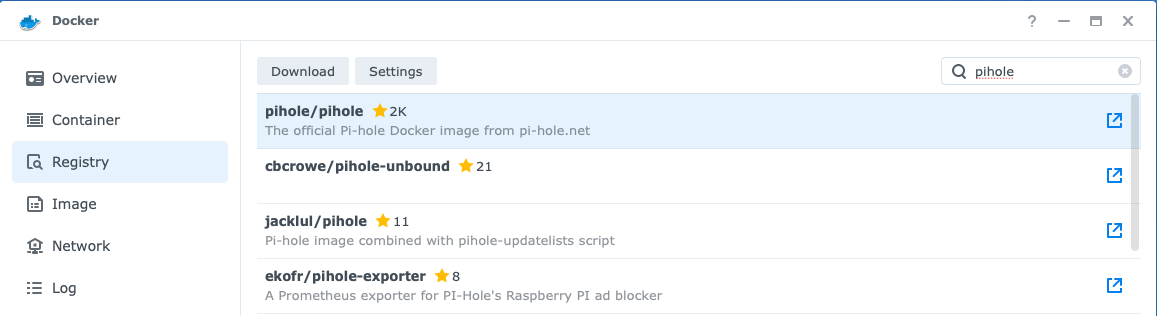
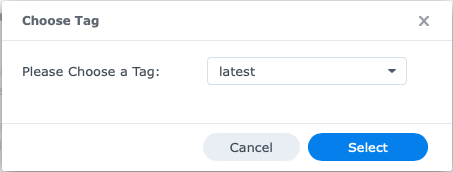
Select the official pihole/pihole docker image and click download. Choose the latest tag:
The docker image is now being downloaded and once it is finished you can find it in the left menu in the Image tab.
Step 3 – Create Pi-Hole Synology docker container
Now that the pihole docker image has been downloaded, go the Image tab and double click the pihole/pihole image. The Create Container window opens:
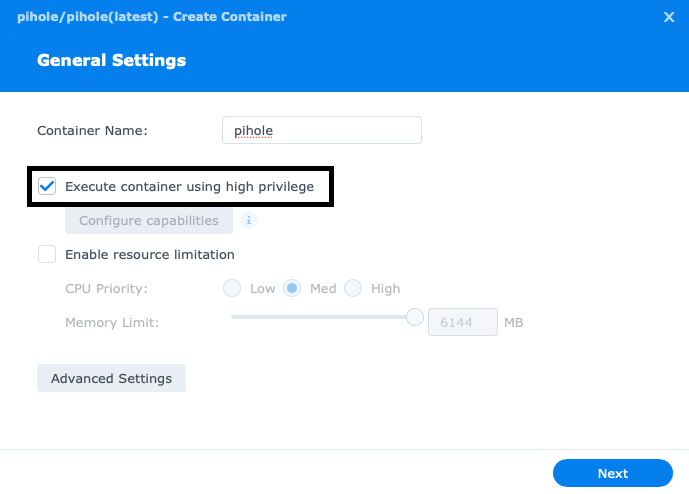
- Make sure to enable the Execute container using high privilege
- Click Advanced Settings to further configure the pi-hole container
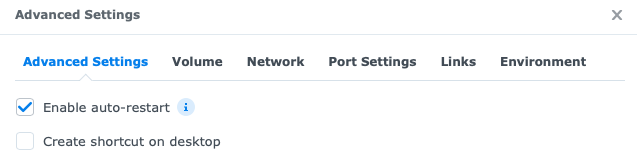
- In the Advanced Settings tab, enable Enable auto-restart. If your Synology NAS restarts, the pi-hole container automatically starts as well.
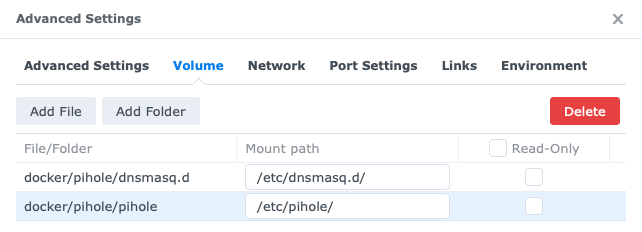
- In the Volume tab, you need add 2 folders to the container.
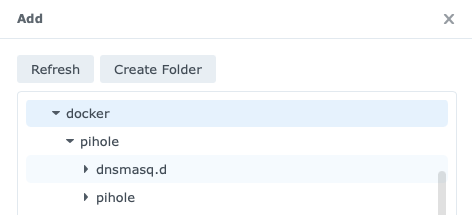
- When you installed Docker, a docker folder was automatically created. Click Add Folder and create two folders inside the docker folder:
- dnsmasq.d
- pihole
- When you installed Docker, a docker folder was automatically created. Click Add Folder and create two folders inside the docker folder:
-
- Make sure to correctly set the Mount Path to the folder locations in the container and disable Read-Only:
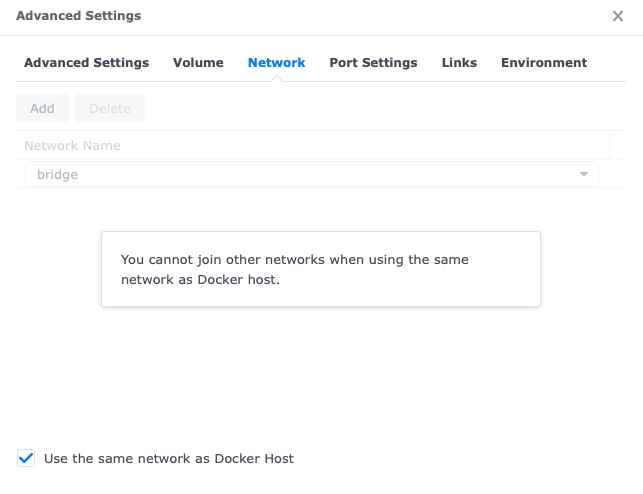
- In the Network tab, select Use the same network as Docker Host.
- In the Environment tab, add two variables:
- WEBPASSWORD
- Set the value to any password you like
- WEB_PORT
- Set the value to any free port, for example 8080
- WEBPASSWORD

- Change the variables:
- ServerIP to the NAS IP
- DNSMASQ_USER to root. The default is pihole, but the user needs to be root in order to work.

Click on “Apply” and you will now see an Overview screen of the adjustments and settings that we have made. When we click on “Apply”, the configuration is closed and the container is created and started automatically. Pi-Hole is now successfully installed on your Synology NAS!
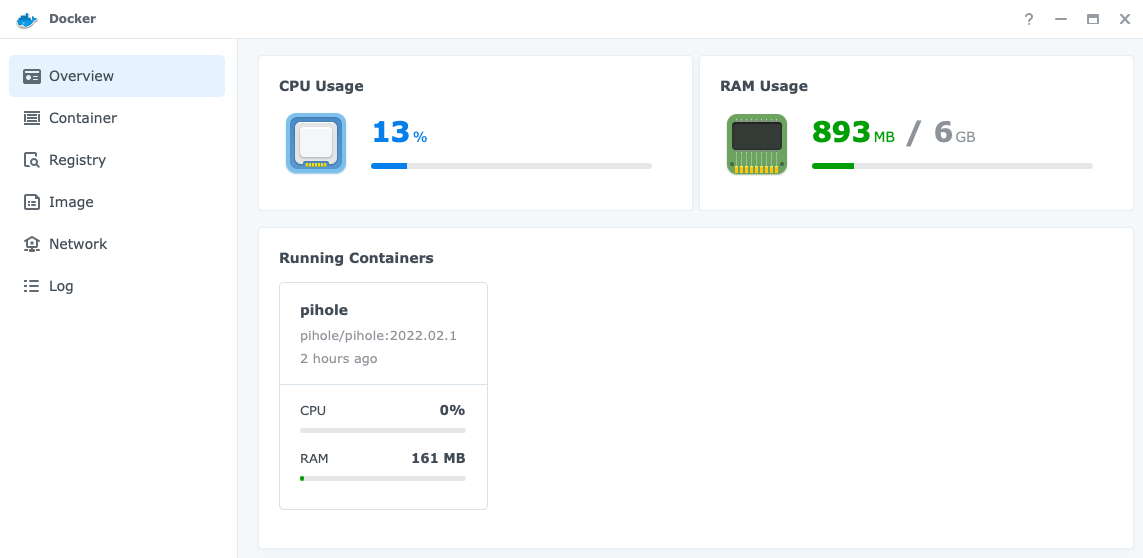
If everything went well, the container is started and active. Go to the Dashboard tab in the left menu and verify that the Pi-Hole container is running:
Installation done! You can access the Pi-Hole web interface by going to your NAS IP, for example:
192.168.0.210:8080/admin (example, use your own NAS IP)
Login with the password you provided to see more stats and configure Pi-Hole to your liking.
Step 4 – Use Pi-Hole on all your devices
Now Pi-Hole is installed but not yet used by all your devices. Two ways:
- Configure DNS settings on each device manually
- Change the DHCP settings on your router so that all clients use the Pi-Hole DNS
Each router is different so check the manual for your router.
Step 5 – Configure Pi-Hole on your Synology
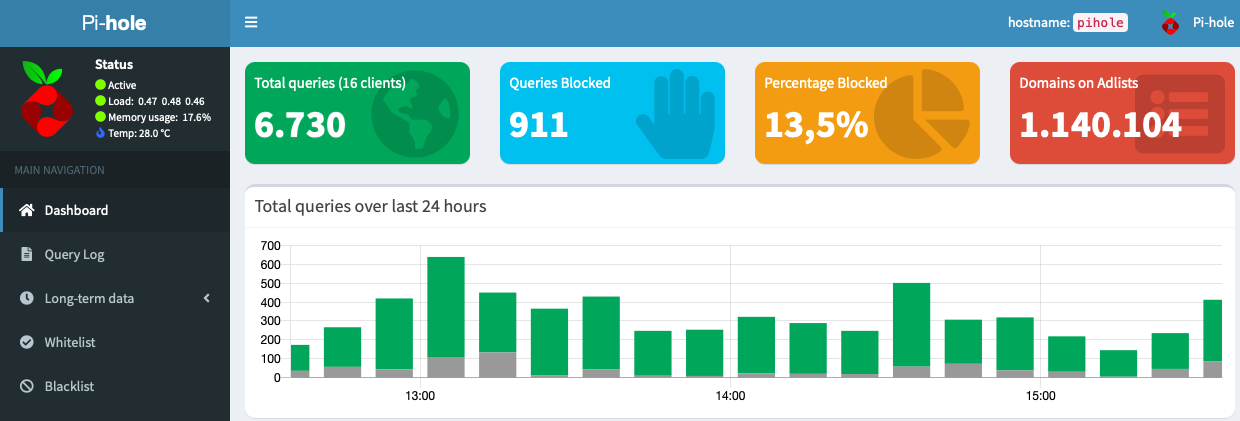
Open the Pi-Hole web interface to configure Pi-Hole to your liking:
192.168.0.210:8080/admin (example, use your own configured IP)
Blocklists
By default, 1 blocklist is active with approximately 100,000 domains. I recommend to add the following blocklist:
- https://oisd.nl
- More than 1.000.000 domains from combined blocklists. Works extremely well with almost no false positives. And if there are any false positives you can update the whitelist in Pi-Hole.
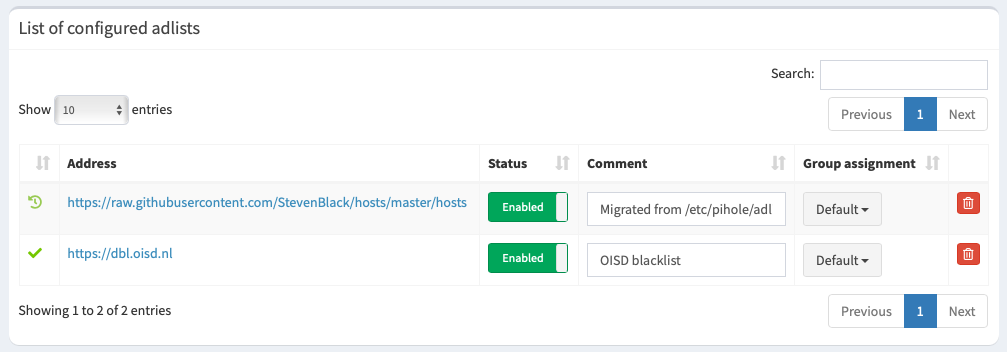
You can add a new blocklist by going to Group Management -> Adlists. On the top you can add the list.
The URL for Pi-Hole is:
https://dbl.oisd.nl
When adding a new blocklist, you need to manually update the database by going to Tools -> Update Gravity. Now update the database with all domains, click on the Update button.
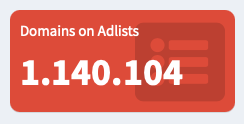
After adding the new list go to the Dashboard and there are now more than 1.000.000 domains blocked!
Adding domains to whitelist / blocklist
Contact
Questions or suggestions for improving this blog post? Contact me!