
 This tutorial explains how to install ClamAV on DirectAdmin using the CustomBuild tool included with DirectAdmin installations. It only takes a few steps to install it! With ClamAV it is possible to automatically scan every email that comes in. In addition, it is possible to scan all files on your server or VPS for unwanted files. In addition to installing, it explains how to update the virus definitions automatically every day and how to manually scan your system.
What you need:
- Logged in as root
- DirectAdmin installation with CustomBuild 2.0 or higher
- Recommended: 1 GB of free RAM, clamd takes a lot of RAM
This tutorial is written for Rocky Linux 8 / CentOS 8 / AlmaLinux 8 or other RHEL 8 variants.
Note: Always make a snapshot and/or backup of your system before you upgrade the software! This way you can always fall back on a working configuration if something goes wrong.
Step 1 – ClamAV Directadmin Installation with CustomBuild
In addition to installing and optimizing SpamAssassin, you can install ClamAV which scans every email message for viruses or other unwanted content. In addition, with ClamAV you can scan the entire server or set up cronjobs that your system can run on a daily basis. Install ClamAV the following commands:
dnf install bzip2-devel

cd /usr/local/directadmin/custombuild/
./build update
./build set clamav yes
./build update
./build clamav
That’s all! Because you are using the latest exim.conf via CustomBuild 2.0, it automatically checks whether ClamAV is installed and is also used by Exim. You can check this by viewing the headers of a new email message. It should now contain the following:
X-Antivirus-Scanner: Clean mail though you should still use an Antivirus
If not, check if you are using CustomBuild 2.0. The exim.conf must contain the following file that is included:
/etc/exim.clamav.load.conf
If not, update your exim.conf to the latest version as follows:
Note: Any previous changes to the exim.conf will be overwritten, unless you’ve implemented it correctly with .include_if_exists. For an example such as the DKIM configuration, see the manual on the DirectAdmin website (step 2).
cd /usr/local/directadmin/custombuild/
./build update
./build set eximconf yes
./build set eximconf_release 4.5
./build update
./build exim_conf
Step 2 – Scan uploaded files with FTP
In addition to scanning e-mails, it’s possible to scan all files uploaded with FTP. To set that up, you must first find out which FTP software you are using. By default in CustomBuild 2.0 it is now PureFTPd. Check this with the command:
cd /usr/local/directadmin/custombuild/
cat options.conf
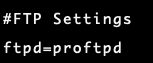
Now search for the FTP section and you will see which FTP software you are using. To enable FTP scanning, do the following:
./build set pureftpd_uploadscan yes (For PureFTPd)
./build set proftpd_uploadscan yes (For ProFTPd)

./build pureftpd (For PureFTPd)
./build proftpd (For proftpd)
At the end of the FTP build the upload scanning script is installed.
Step 3 – ClamAV DirectAdmin: Verify installation
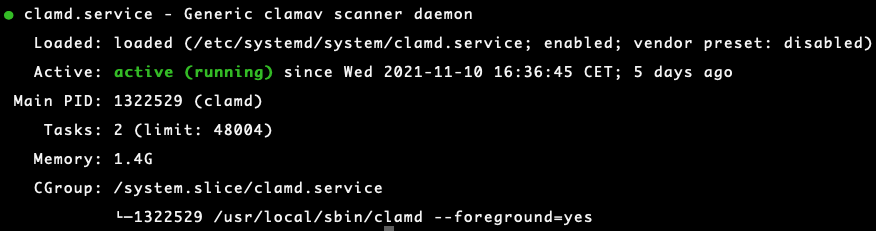
Verify that ClamAV is running correctly:
systemctl status clamd.service (ClamAV)
systemctl status freshclam.service (Virus Definitions Updater)

Useful scan commands
ClamAV has a lot of options to scan your server according to your own wishes. For an overview of all options:
clam scan --help
Commonly used scan commands:
Scan a file
clamscan name_of_the_file
Scan all files and show the name of each file
Scans all files on your system with the -r recursive option. This might take a while!
clamscan -r /
Scan all files but only show the infected files
Options:
- -r = recursive
- -i = show only infected files
clamscan -r -i /
Scan all files in the /home folder
Options:
- -r = recursive
- -i = show only infected files
clamscan -r -i /home/
Scan all files in the /home/ folder and output log to a file
clamscan -r -i -l /var/log/clamscan.log /home/