NodeJS is a JavaScript runtime built on Chrome’s V8 JavaScript engine for server-side programming. For example: if you use Laravel Mix or Webpack to build your website assets you need to have NodeJS installed to build the assets. Follow along these couple of steps to install NodeJS on your system.
Prerequisites
To complete this tutorial, you will need a server running CentOS 8 / Rocky Linux 8 / AlmaLinux 8 or another RHEL variant. We will assume you are logged into the server as the root user because we will use the DNF package manager to install NodeJS on Rocky Linux.
Step 1 – Enable the correct module to install NodeJS
NodeJS is available from Rocky Linux’s default App Stream software repository. There are multiple versions available and you can choose between versions by enabling the module stream you want to install. Run the following command to display the versions that are available to your system:
dnf module list nodejs
Choose which version you want to have installed and enable the module by running:
dnf module enable nodejs:14
Version 14 is now enabled and when you run:
dnf module list nodejs
you can see that the default (indicated by the [d]) version is NodeJS v10, but NodeJS v14 is enabled (indicated by the [e]). This means that v14 is installed when we run the install command.
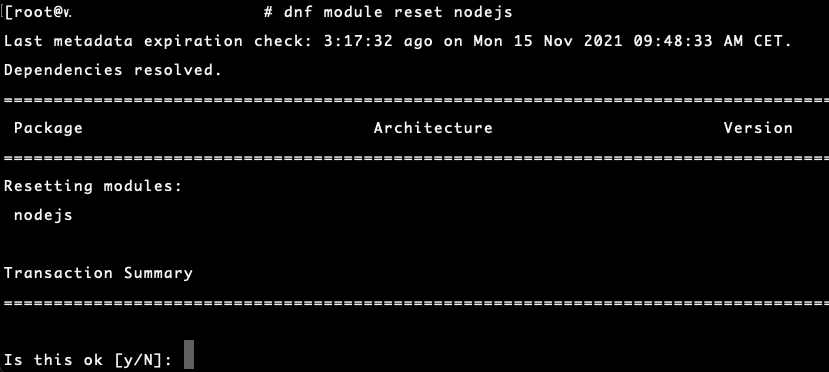
To switch the enabled version, run the module reset command:
dnf module reset nodejs
Now you may enable the other NodeJS version that you want to have installed:
dnf module enable nodejs:12
Step 2 -Install NodeJS with DNF
Now you have the correct module enabled run the following command to install NodeJS:
dnf install nodejs
Step 3 – Verify installed versions
Check that NodeJS installed correctly by running the versions command:
node -v
Your node -v output will be different when if you installed NodeJS v12 or v10.
Installing the NodeJS package should also install the npm (Node Package Manager) as a dependency. Verify that NPM was installed properly:


